Inserting contents in Microsoft word document

You can insert different tables, figures smart arts and shapes using inserting contents in Microsoft word document . before proceed to inserting contents in Microsoft word, If you do not read the previous blog related to Microsoft word, I recommend you to read it first.
Add cove page template, while inserting contents in Microsoft word document
You can design your own cover page for your word document or you can select the built-in cover page temple from the Microsoft word. Accordingly, You can use the following steps.
- Click on the insert menu.
- Go to pages tool and click on the cover pager button as shown below.
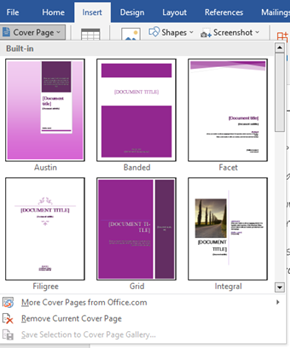
3. If you select the built in cover page, you can customize the content of the cover page.
Blank page using inserting contents in Microsoft word
You can insert blank page at the starting, at the middle or at the end of your document.
Steps
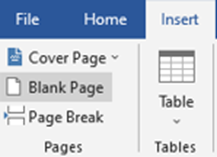
- Go to the place where you want to insert the blank page. That means at the starting, middle or at the end of the document.
- Click on the insert menu.
- Go to the pages tool.
- Click on the blank page button.
- Finally, the blank page will appear on the place where you locate.
Tables
You can insert table in your document using the following steps.
- Place the cursor where you want to insert the table.
- Click on insert menu.
- Go to table and click on the down arrow at the bottom of table icon as shown below.
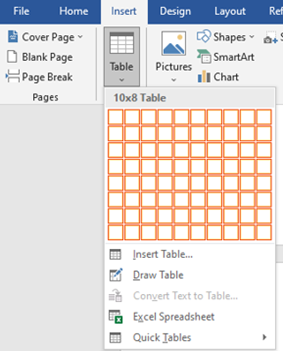
4. You can use two options. The 1st option is selecting the column and row you want by pressing and dragging the mouse cursor. Or 2nd option you can click on the insert table button as follows.
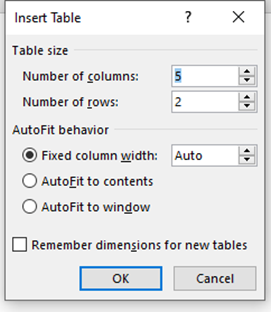
5. By specifying the number of column and row, click on the OK button.
Example
| Column 1 | Column 2 | Column 3 |
Designing Table using inserting contents in Microsoft word
You can make your table stylish using the following steps.
- Hover the mouse cursor on the top left corner of the table.
- The cross icon is appeared.
- Click on the cross icon.
- The table tool will appear. This table tool contains table design and layout menu.
- Press the table design menu as follows.
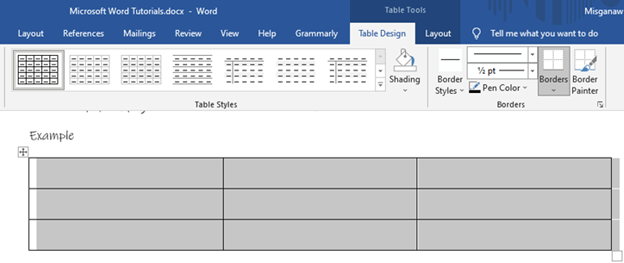
6. Select the table design
Example

Table manipulation
You can delete entire table, columns, rows, split cells, split tables, merge cells and more activities. To do this activity, You can use the following steps to manipulate your table. Using table layout, you can add rows at the top or at the bottom of the table, add column at the right or left side of the table.
- hover the mouse cursor on the top left corner of the table.
- The cross icon is appeared.
- Click on the cross icon.
- The table tool will appear. This table tool contains table design and layout menu.
- Press the table Layout menu as follows.

Example
In the following table, two type of table layout are performed. 1st the table row and column are merged. 2nd the table is splinted.
In the following table, the merged cell row covers two rows. The “merged column” covers two columns. The table also splinted in to two tables. All this and other activities are manipulated using the layout menu of the table tool.
Table 5‑1: table example 3
| Merged row | Merged column | |
Pictures
You can insert pictures in the word document.
Steps
- Put the mouse cursor on the place where you want to insert the picture.
- Click on insert menu.
- Go to on illustration tool.
- Click on pictures as shown bellow.
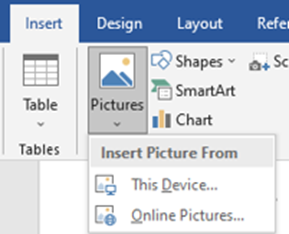
5. There are two options to insert picture. You can insert picture from your local file (USB) or if necessary, you can get the picture from online from the internet.
Example

Shapes
While inserting contents in Microsoft word, it has different built-in shapes. These shapes are used to draw different flow charts or work flows. You can insert shapes using the following steps.
- Take the mouse cursor on the place where you want to insert the picture.
- Click on insert menu.
- Go to on illustration tool.
- Click on shapes button as shown below.
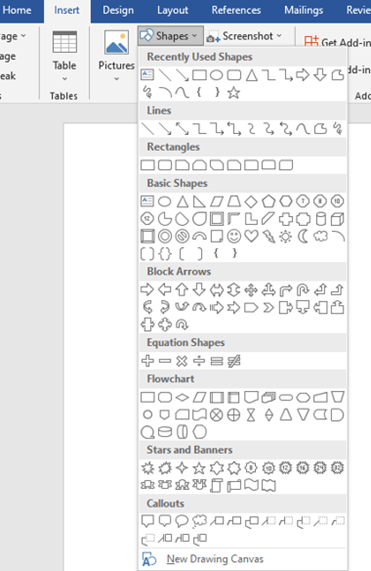
5. Select the shape you want to insert.
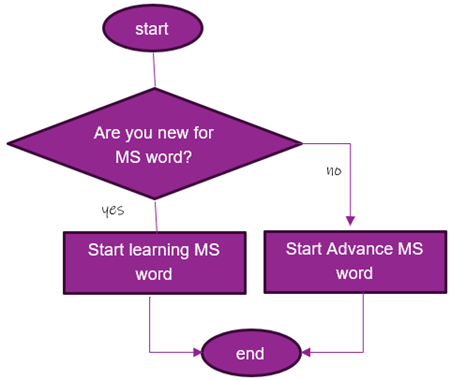
Example
This example shows how you can draw flow charts using Microsoft word built in shapes.
Smart arts
Smart arts are used to visually communicate. This built in function also used to show some activities visually. Using smart art you can insert lists, processes, hierarchy, relationships, pyramids and pictures for your visual interpretation of information.
- Take the mouse cursor the place where you want to insert smart art.
- Click on insert menu.
- Go to illustration tool.
- Click on smart art button as shown below.

Example 1

Example 2

Icons
You may use icon to communicate visually. This icon tool is active if your computer gets internet connection. Otherwise, you should have locally saved icons.
- Take the mouse cursor on the place where you want to insert icon.
- Click on insert menu.
- Go to illustration tool.
- Click on the icons button as show below.
Charts
You can add data analysis charts using chart tool with the help of Microsoft excel.
Steps
- Take the mouse cursor on the place where you want to insert charts.
- Click on insert menu.
- Go to illustration tool.
- Click on the chart button as show below.
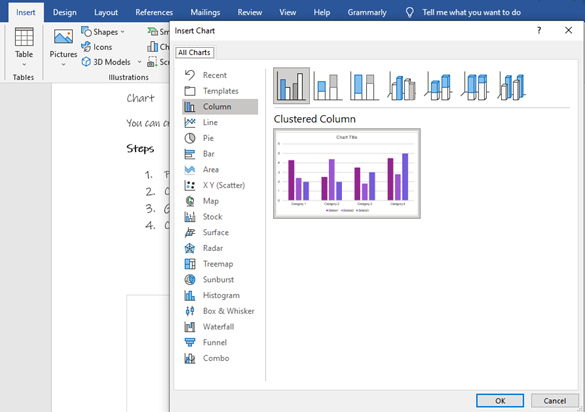
5. Select the type of chart and click on OK. By default, if you have not any excel data sheet to prepare chart, the Microsoft word will provide you sample excel document.

Example

Screen shoots
This tool is used to insert the currently opened screenshots in your document.
Steps
- Put the mouse cursor on the place where you want to insert screenshots.
- Click on insert menu.
- Go to illustration tool.
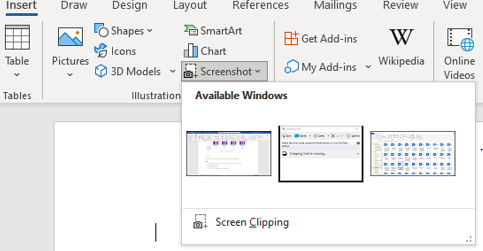
- Click on the screenshot button as show below.
Example

Add-ins
Add-ins is a special tool used to add some useful tools and plugins in your word file. E.g., You may add Grammarly add-in to make spelling, word and phrase correction. You must online to add add-in in your word.
Steps
- Click on insert menu.
- Go to add-ins tool.
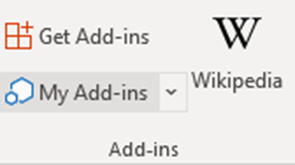
- Click on the Get Add-ins button as show below.
Wikipedia
Wikipedia is an internet source of information. This source used to refer definition for some word or other information. Wikipedia used to quickly access Wikipedia content from internet using Microsoft word. Wikipedia is accessed by using internet browser. To add Wikipedia plugin in to your document, you should have an internet connection.
Steps
- Click on insert menu.
- Go to add-ins tool.
- Click on the Wikipedia button.
Links
Link used to quickly access webpages, files from E-mail, files from local storage or content of the current document.
Steps
- Click on insert menu.
- Go to link tool.
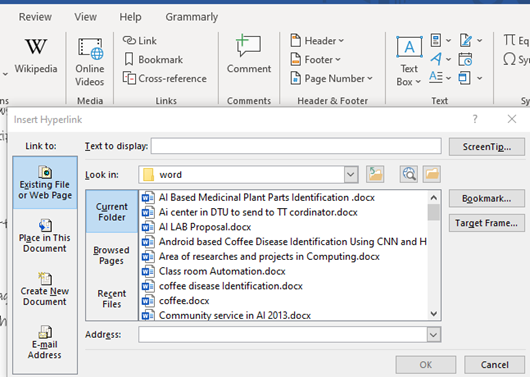
- Click on the link button. The following dialogue windows will appear.
Example
The following link enables you to go to the file “Class room automation”. This file is stored somewhere in your computer.
Class room Automation.docx
Book marks
Bookmark enables you jump to a specific place in your document. It provides a hyperlink for you.
Steps
- Select the content you want to jump to.
- Click on insert menu.
- Go to link tool.
- Click on the bookmark button. The following dialogue windows will appear.

- Give name for your bookmark as shown in the above figure.
- Place the mouse cursor on the place where you want to call the bookmarked section of the document.
- Click on link button.
- Select place in this document from the left side bar and click on the bookmarked name you want create a link as shown below.

5. Finally, your linked book mark is as follows. When you click on the link, you directly go to the place of the document you book marked by the name “bookmar_name”.
bookmar_name
cross reference
Cross reference helps you to refer a specific place in your document such as headings, figures or tables. This tool is used to cite the specific section in another section of the document.
Steps
- Select the content you want to insert the cross reference.
- Click on insert menu.
- Go to link tool.
- Click on the cross-reference button. The following dialogue windows will appear.
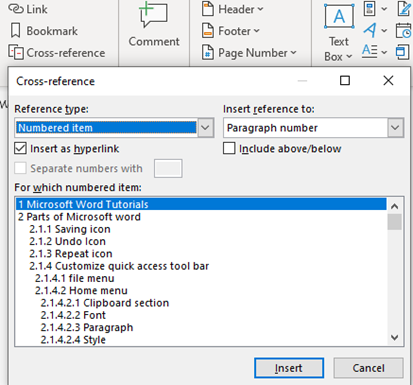
5. Select the heading, figure or table you want to site. E.g., in the above figure Microsoft word tutorial is selected.
Example
To know detail about how to save file, please refer 1.3.2. here 2.3.2 is the cross reference.
Inserting headers
Header used to repeat content at the top of ever page in your document. The header may contain title, the author, date of document preparation, logo and other relevant information.
Steps
- Click on insert menu.
- Go to header and footer tool.
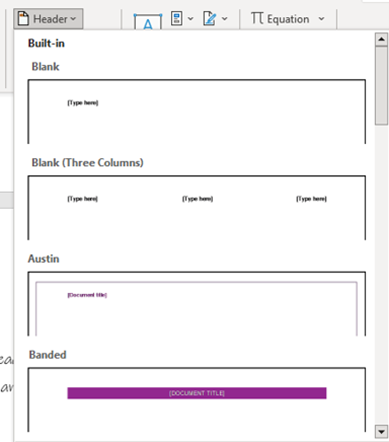
- Click on the down arrow of header button to select the fancy header type you need as show bellow.
Inserting footers
The purpose of footer tool has the same function as header tool. The only difference is as the name indicates footer repeat the content at the bottom of the pages. You may add contact addresses using footer.
Steps
- Click on insert menu.
- Go to header and footer tool.
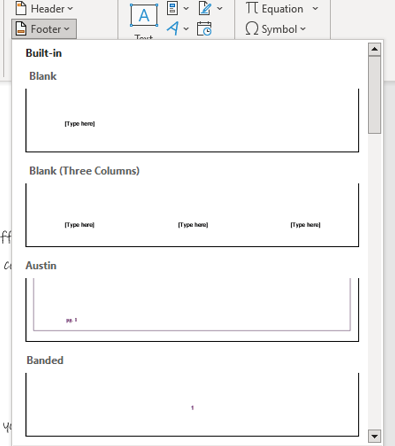
- Click on the down arrow of footer button to select the fancy footer type you need as show bellow.
Inserting page numbers
You can add the page number at the top or bottom of the page in your document. Using this tool, you can format the type of the page and remove the page number. Some of the page number format are roman number, lateen number and alphabetic number.
Steps
- Click on insert menu.
- Go to header and footer tool.
- Click on the down arrow of page number. An option will pop up as follows. Then select the position where you want to insert the page number.

4. E.g., you select bottom place

5. You my format the type of page. To format the page, click on format page numbers as follows.

6. You get this option when you click on format Page number button of page number tool. You can make the new format start from the first page e.g., from 1, from I or from A. or you can make the new format continue from the previous page.
Word art
You can add artistic flair of text in your document. You may make your title of some interesting text stylish.
Steps
- Click on the insert menu.
- Go to text tool.
- Click of the down arrow of italic “A”. the following option will appear.
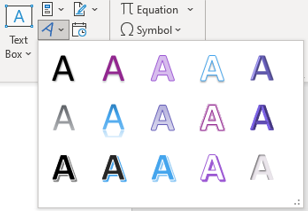
4. Finally, you can select the type of the word art you want.
Example

Inserting equations
Equation helps you to insert different mathematical formulas in your word document.
Steps
- Click on the insert menu.
- Go to symbols tool.
- Click of the down arrow of equation that has pi sign. so, the following option will appear.
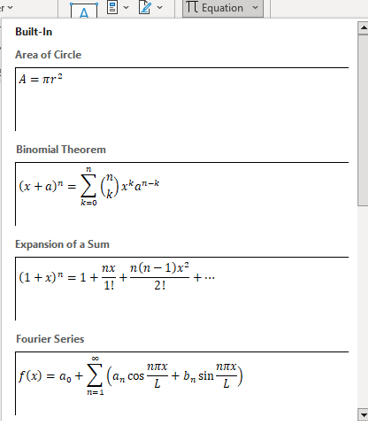
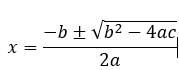
4. Select the type of formula you want to insert. example, You may select quadratic equation.
Symbols
This tool is used to enter different symbols and characters that you are not able to get from the keyboard.
Steps
- Click on the insert menu.
- Go to symbols tool.
- Click of the down arrow of symbol. So, the following option will appear.

4. After getting the option of symbols, you can select the symbol press the insert button.
e.g., πβΩë
Draw shapes and insert mathematical equations
Microsoft word application has a special tool to draw shapes and pictures. This tool also helps you to write and insert mathematical equation.
Draw shapes
Steps
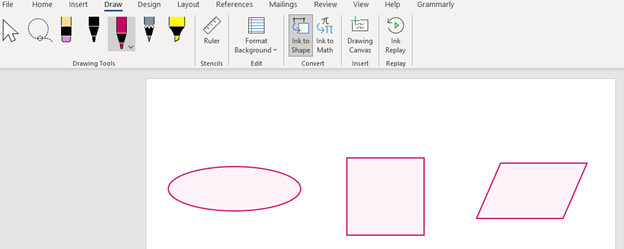
- Click on draw menu.
- Go to drawing tools.
- Select the type of pencil or marker.

Here, you can select the color and thickness of the pencil or marker by clicking on the down arrow of the selected pencil as follows.

4. Now you already select the pencil, the color and thickness of the pencil. The next task will be drawing the shapes or pictures.

5. You can also make your drawing perfect by clicking on lnk to shape before you start draw.

6. You may want to delete the shapes after you draw it by selecting the pencil eraser.

7. After selecting the pencil eraser, click on the lines of shapes to be deleted.

Inserting Mathematical equations
You can insert mathematical equation using drawing and convert tool.
Steps
- Click on draw menu.
- Select the pencil from drawing tool.
- Click on lnk to Math. You will get the following writing window.

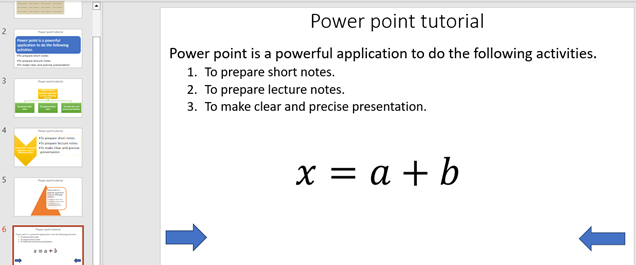
4.Write the equation and click on insert button.

5. The result will look like the following snapshot.
Thank you for reading my post.!!! To know more about our services visit this site.


